
The process of creating medical 3D models consists of several steps, but can be described in short as: ‘the conversion of two-dimensional medical images to a three-dimensional file that can be utilized in 3D printing.’ This article will give you detailed information about how a 3D printed model is created from beginning to end.
3D Printed Models Step by Step:
- DICOM files are ‘stacked’ in processing software
- Segmentation
- Creation of volumetric surface of 2D annotations
- Volumetric surfaces exported in 3D format
- Pre-processing (optional)
- Files are inputted into a processing software
- Post-processing
Process of Printing Medical 3D Models
DICOM Files
The process begins by utilizing raw medical images usually in DICOM format (Digital Imaging and Communications in Medicine).
The images represent a two-dimensional cross-section of the patient’s anatomy, typically taken in the axial plane (X and Y dimensions depicting left to right and front to back aspects of the patient).
The axial slices are ‘stacked’ in the processing software to form a volumetric dataset with the space between the scans representing the inter voxel space of the final 3D model (Z dimension, depicting top to bottom of patient). As a general rule, the larger the space between the scans, the lower the resolution of the final 3D model that will be produced.
Segmentation
Once data has been stacked within the software, a process of segmentation (also referred to as contouring) is carried out on each axial slice to identify the portions of anatomy that will be 3D printed.
This process is typically done with a number of segmentation tools, both manual and semi-automatic, to annotate each image pixel in the dataset.
Once all data is segmented, a volumetric surface of the two-dimensional annotations are created and exported in a three-dimensional format (of which the most common are .STL & .OBJ).
Depending on the requirements of the final 3D print, this data can then be further processed (pre-processing of the 3D file) by adding in additional features such as pillars to hold anatomy in situ or separating files and coloring for visualization purposes.
Printing
Once the pre-processing has been completed based on model requirements, it is then inputted into a processing software suited to a specific printing technology.
This software (usually supplied with a 3D printer) can be used to add support materials (if the print technology requires it) and converted back into two-dimensional cross-sections called G-code. This G-code file will guide the printer’s system to print consecutive individual layers to create your patient-specific model. To see some examples of models we have created at Axial3D, go to our case studies’ page.
The printed model looks like this:
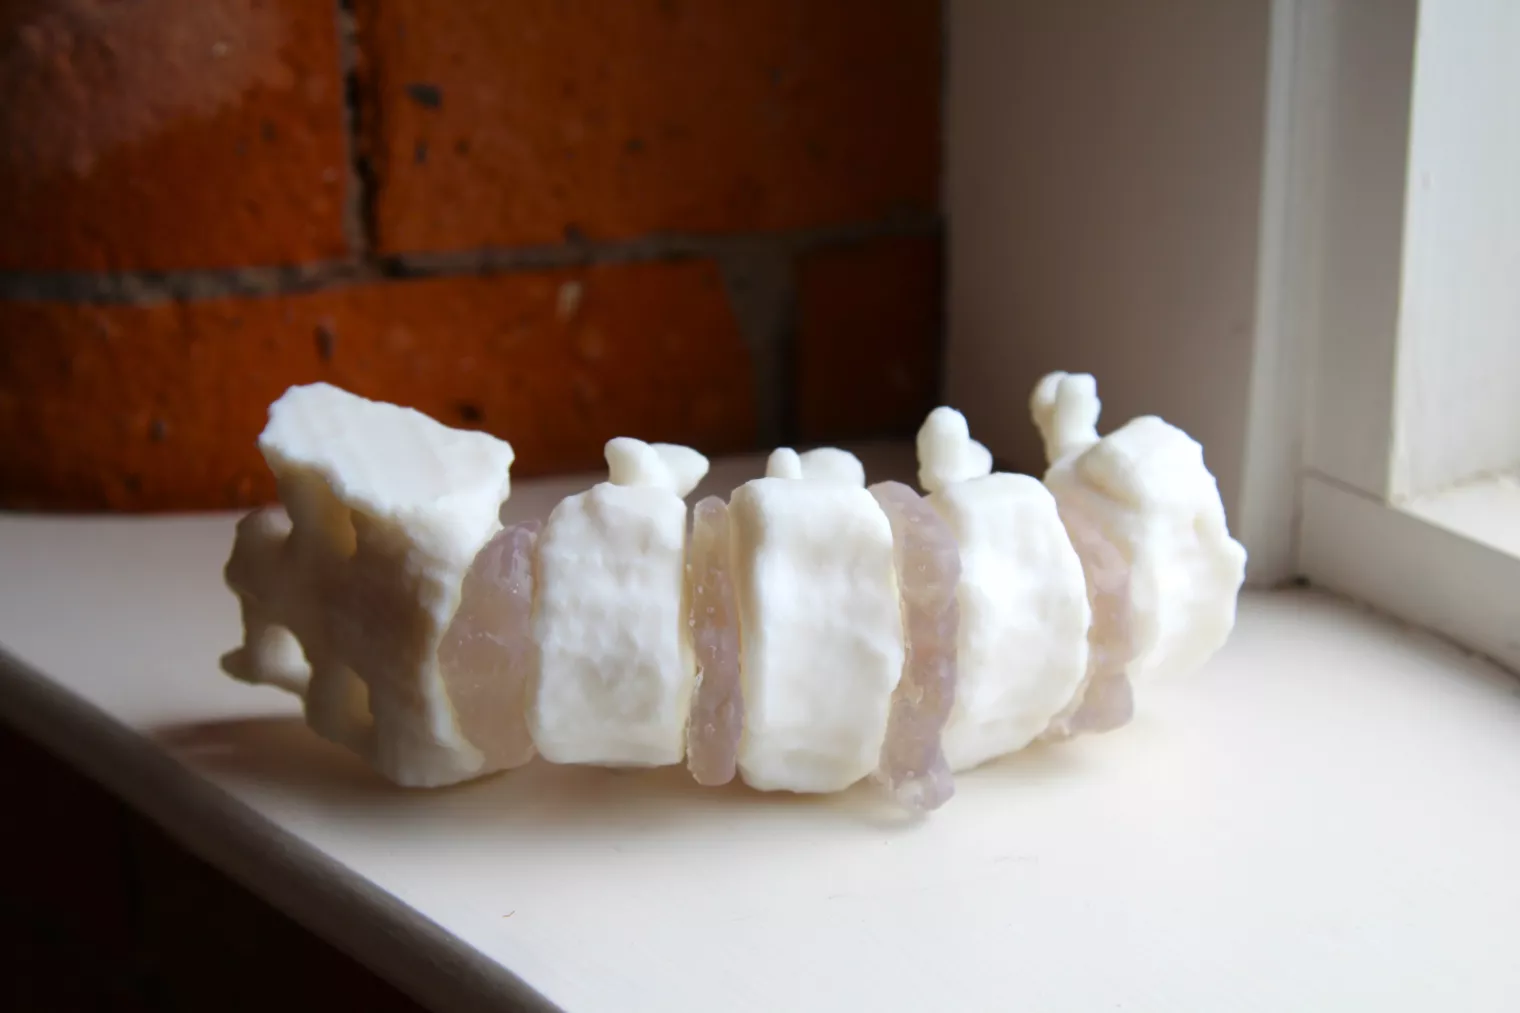
Patient-Specific Medical 3D Models by Axial3D
At Axial3D, our goal is to make 3D modeling routine practice for surgeries around the world. This is made possible with our highly precise medical 3D visualizations and printed models that are highly accurate replicas of patient anatomy. We segment 2D patient scans and convert them into 3D visuals and printable files in our Segmentation-as-a-Service software. We can then print them in our print lab, or through our partners. The print-ready files can also be output into a hospital’s print lab. To see how our 3D solutions can help your organization, consult our experts for a trial.
